Enable HTTP request Log Shipping
When enabled, HTTP Request Log Shipping ships copies of an application’s HTTP request logs at 5-minute intervals to a customer’s Amazon Web Services (AWS) S3 buckets.
Files from more than one of an organization’s applications and environments can be shipped to a single S3 bucket.
Prerequisites
- To enable HTTP request Log Shipping, a user must have at minimum an Org admin role or an App admin role for that application.
- Review the AWS S3 bucket requirements before enabling this feature.
Enable HTTP request Log Shipping
- Navigate to the VIP Dashboard for an application.
- Select an environment from the environment dropdown located at the upper left of the VIP Dashboard.
- Select “Logs” from the sidebar navigation at the left of the screen.
- Select “Log Shipping” from the submenu.
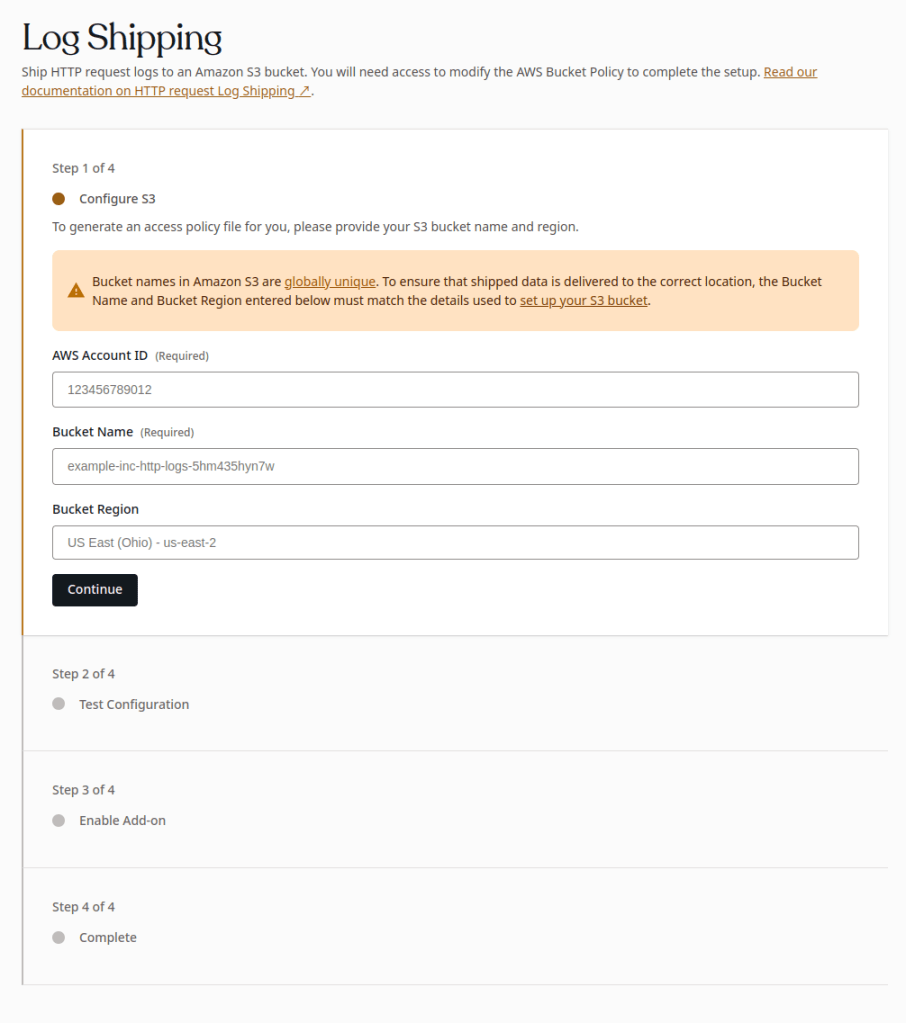
- Enter the “AWS Account ID” (How to find your AWS Account ID), “Bucket Name”, and “Bucket Region” values for the S3 bucket that will receive the shipped HTTP request log files from VIP.
- Select “Continue“.
Test Configuration
Based on the values entered in the “Configure S3” step, a CloudFormation Template will populate the field labeled “Generated CloudFormation Template“. To continue the process of enabling Log Shipping:
- Download the CloudFormation Template JSON file by selecting the button labeled “Download Template“.
- Use the CloudFormation Template JSON file to create a stack in AWS CloudFormation by following the instructions for Creating a stack on the AWS CloudFormation console.
- Select the button labeled “Test and Enable“ to test the configuration on the S3 bucket. A test file named
vip-go-test-file.txtwill be uploaded to the S3 bucket as part of the verification process. This file will always be present in a site’s configured S3 bucket and path, alongside the dated folders that contain the logs themselves.
Complete
If the configuration test is successful, the enablement tool will advance to the step labeled “Complete”. HTTP request Log Shipping will begin sending files to the configured S3 Bucket.
Disable Log Shipping
- Navigate to the VIP Dashboard for an application.
- Select an environment from the environment dropdown located at the upper left of the VIP Dashboard.
- Select “Logs” from the sidebar navigation at the left of the screen.
- Select “Log Shipping” from the submenu.
- Select “Disable Add-on“.
Restricting access by IP range
To restrict access to an AWS S3 bucket via IP range, ensure your bucket access policy accounts for the VIP Platform’s dynamic IP range. A system to auto-update the access policy will need to be implemented, as the IP ranges are subject to change.
Last updated: March 12, 2024