Install a Let’s Encrypt TLS certificate
A Let’s Encrypt TLS certificate is available by default for any domain that has been added to an environment’s VIP Dashboard. To install a Let’s Encrypt certificate, the domain must be verified and have DNS updated to point to VIP.
- Elliptic Curve Cryptography (ECC) certificates are issued for newly installed or renewed Let’s Encrypt certificates.
- RSA certificates can only be issued by installing a custom TLS certificate.
- The VIP Platform will automatically make attempts to renew a domain’s installed Let’s Encrypt certificate 28 days prior to the certificate’s expiration date.
Access
Prerequisites
- Installing a Let’s Encrypt certificate for a domain in the VIP Dashboard requires a user to have at minimum an Org member role or an App write role for that application.
- The domain has been verified.
Domains have specific application and environment associations.
- Navigate to the VIP Dashboard for the application that the domain is associated with.
- Select the environment that the domain points to (e.g., production, develop) from the dropdown located at the upper left of the dashboard.
- Select “Domains & TLS” from the sidebar navigation at the left of the screen.
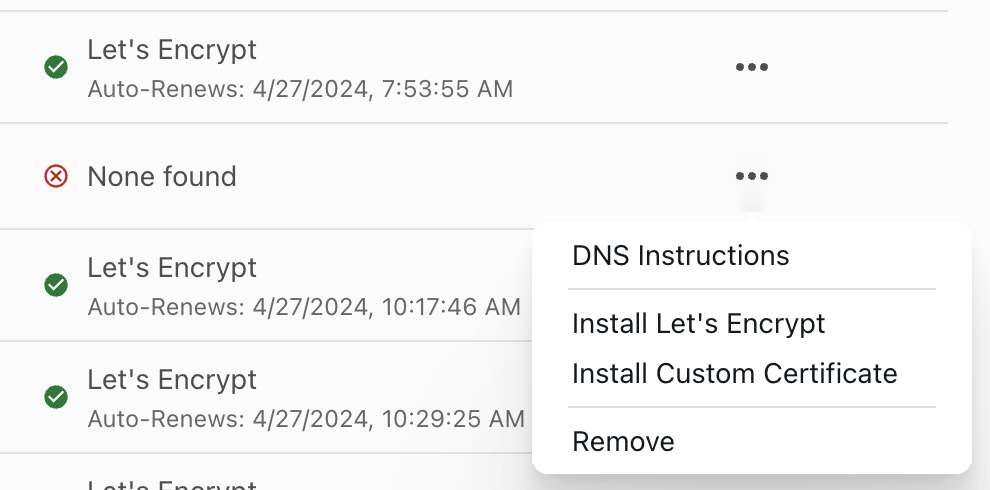
- Select the “•••” button located to the right of the domain.
- Select “Install Let’s Encrypt” from the overflow menu.
- A confirmation message will appear at the bottom of the dashboard screen when the Let’s Encrypt TLS certificate has been installed.
CAA Records
A Certification Authority Authorization (CAA) record specifies which certificate authorities (CAs) are allowed to issue TLS certificates for a domain. An example use case would be to prevent Let’s Encrypt TLS certificates from being issued for a domain in the VIP Dashboard by adding a CAA record for a specific external certificate authority instead.
Last updated: June 11, 2025